- Home Improvement
DIY Chalkboard Wall
What are you waiting for? It’s time to create your very own DIY chalkboard wall!
It’s definitely easy-peasy to successfully create a chalkboard wall with these tips!
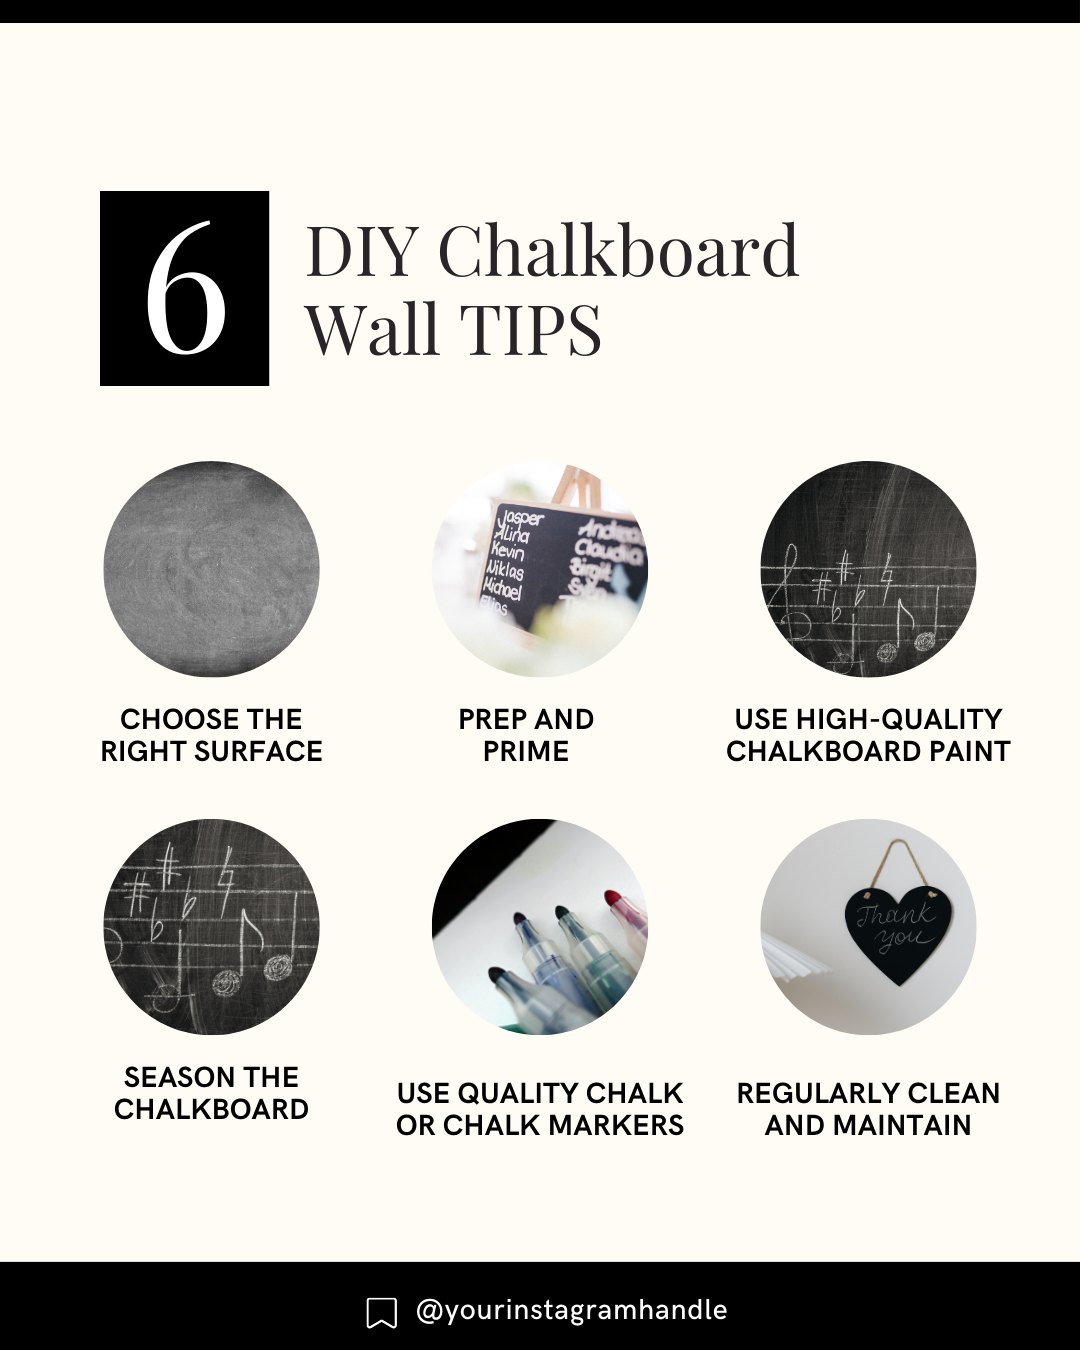
???????? Choose the right surface: Begin by selecting a smooth and non-textured surface. Avoid surfaces with excessive texture or unevenness that can hinder writing and erasing.
???????? Prep and Prime: Prepare the wall by cleaning it and applying a primer specifically designed for chalkboard paint. This will ensure better adhesion and a smoother finish.
???????? Use High-Quality Chalkboard Paint: Invest in high-quality chalkboard paint that offers good coverage and durability. For better coverage and longevity, apply multiple thin coats of chalkboard paint rather than one thick coat. Smooth out imperfections by sanding after each coat has dried. Allow each coat to dry completely before applying the next.
???????? Season the Chalkboard: Before using the chalkboard, “season” it by rubbing the entire surface with the side of a piece of chalk. Wipe off the chalk dust with a dry cloth or eraser. This step helps prevent “ghosting” or permanent marks.
???????? Use Quality Chalk or Chalk Markers: Choose high-quality chalk or chalk markers that work well on chalkboard surfaces. Avoid using regular markers or pens that can stain or damage the surface.
???????? Regularly Clean and Maintain: To keep your chalkboard wall in good condition, regularly clean it with a damp cloth or chalkboard eraser. This will help prevent dust buildup and keep your writing surface clean and vibrant for years to come.
Save this post for your reference!
#DIY #chalkboard #chalkboardwall #DIYchalkboardwall #creativity #paint #paintideas
- Tell us your city or neighborhood – Be as specific as you’d like.
- Add audience info (Optional) – Like “first-time buyers” or “investors.”
- Add any other additional, relevant info (Optional)
